No products in the cart.
Return To Shop
Handmade Dresses: The Art of Custom Dress Making
Have you ever wondered what happens after you place your order?
From online clicks of orders to your princess’ squeal of delight upon receiving, lots of craft, love, and expertise were involved in the making. Today, we’re bringing you behind the scenes to see how we make your little girl’s dream handmade dresses into reality.
Read on to watch the magic unfold.
Step 1: Design & Fabric Selection
You’re in charge of this step.
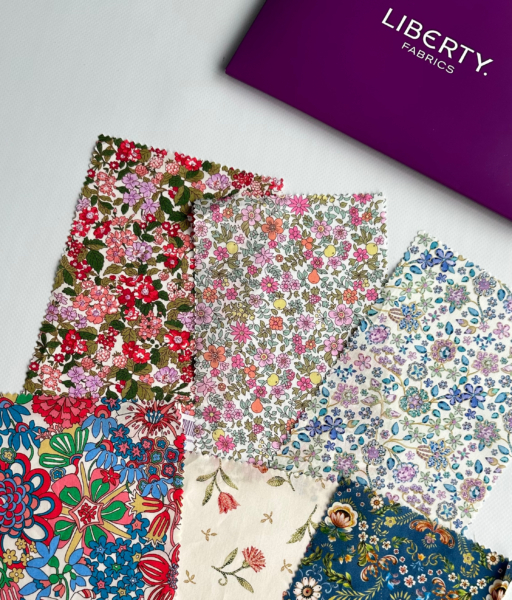
This is where you choose the design, the size, and the pattern of your little girl’s handmade dresses. All our printed fabrics are from Liberty of London, which has a legacy of producing the finest fabrics with elegant and vibrant prints. You can choose the most beautiful designs while enjoying premium quality in craftsmanship and knowing it adheres to the highest standards in sustainable practices. Learn more about our fabrics here.
Step 2: Cutting & Pattern Making
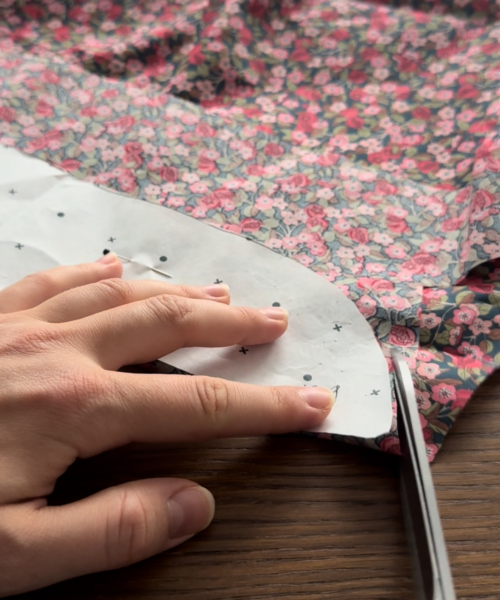
After we receive your special order, we take the fabric of your choice and start cutting.
First, we pin the pattern pieces* onto the fabric to secure them in place for cutting. After that, we use fabric scissors* to cut out each pattern piece with care to ensure precision, so the size and fit of the handmade dresses would be accurate.
What Are Pattern Pieces?
A pattern piece is a section of a sewing pattern, kind of like a template. With many different pieces of them, you can create a piece of clothing, like a dress!
Why Use Fabric Scissors?
Fabric scissors, also known as dressmaking shears, are specifically designed for cutting fabric and have many advantages over normal scissors when it comes to cutting textiles, including sharpness, blade length, handle design, blade angle, and durability.
Fabric scissors are made using hardened steel, and they’re way sharper than normal scissors. This is important because this, along with the longer blade length, allows us to make longer, cleaner, and more precise cuts on the fabric for a longer period of time.
Normal scissors, on the other hand, aren’t designed for fabric cutting, so if we cut fabric with a normal scissor, the fabrics may end up with uneven edges or damaged fibers.
Step 3: Assembling the Handmade Dress!
Now we take the fabric pieces we’ve cut and sew them together to create handmade dresses! And this is the order we usually follow:
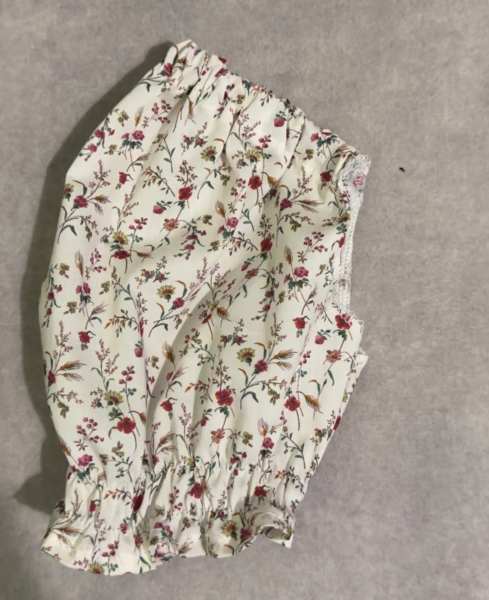
1. Sewing the Main Bodice & Lining
We first take the main bodice pattern and sew the design specified, like shirring, elastic waistband, or more. Since all our dresses feature organic lining, we then sew the lining on the inside of the fabric of your choice.

2. Attaching the Sleeves to the Main Bodice
Sleeves are often sewn on their own. After the sleeves are done, we pin the main bodice and the sleeves together with the right sides facing each other, and then we sew along the seam lines with care.
3. Sewing the Skirt & Lining
Just like the bodice, here we take the skirt piece and create the designs with some sewing magic. If the skirt has a ruffled hem, then we make the ruffles here as well to attach to the skirt. After the designs are sewn on, we add the organic lining on the inside of the fabric, and the skirt is done and attached to the finished main bodice!
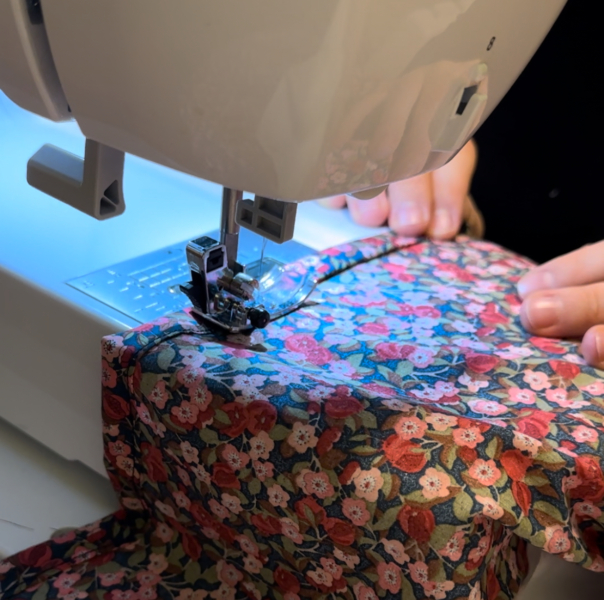
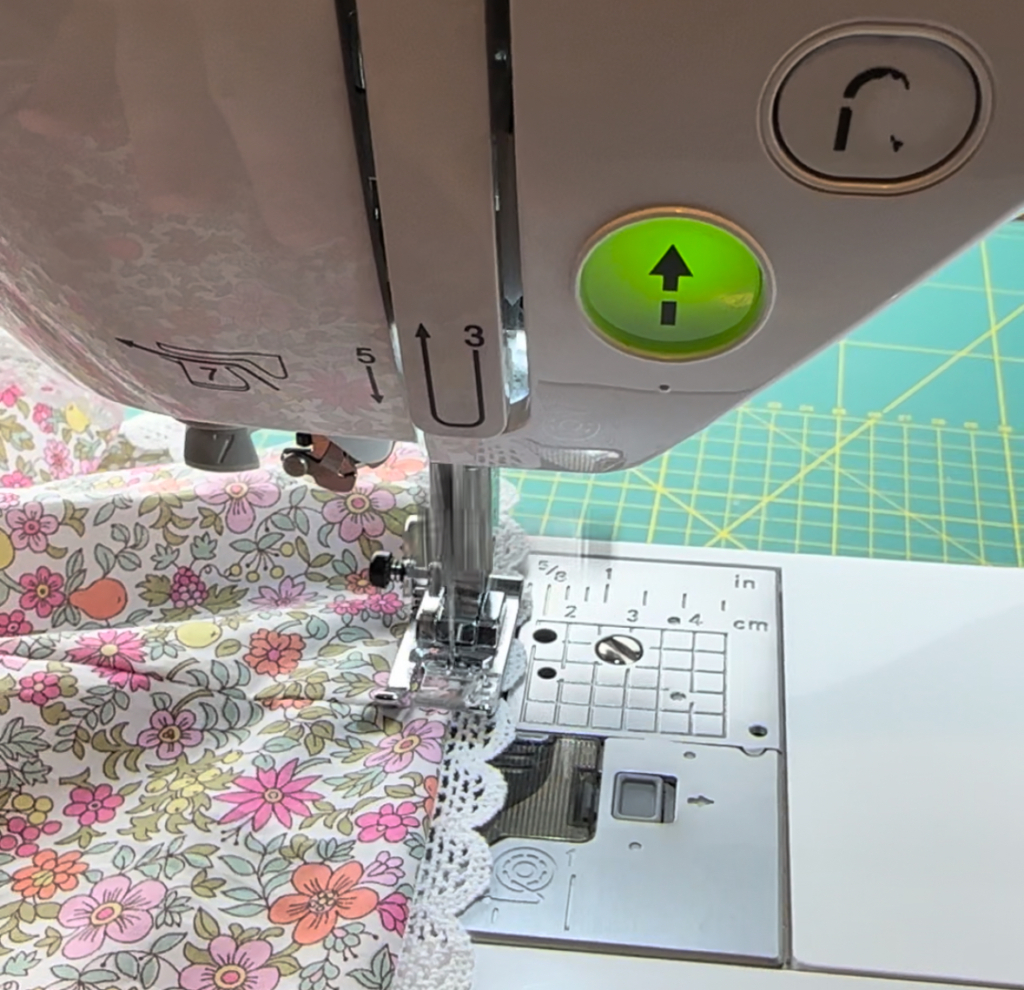
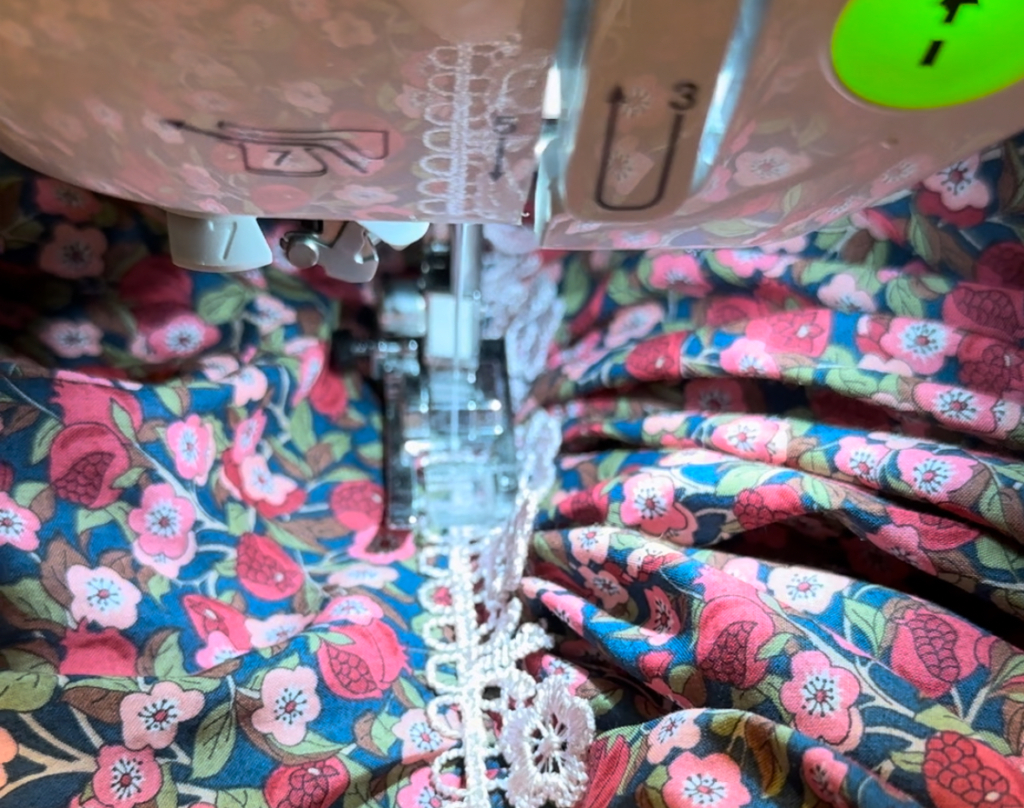
4. Finish up with Design Details
This is the part where we add the finishing touch—the details. Laces, ruffles, bows, you name it. We use the sewing machine to sew straight seams, but for smaller details, like buttons or snaps, we hand-sew to ensure a fine finish.
Step 4: Final Checks
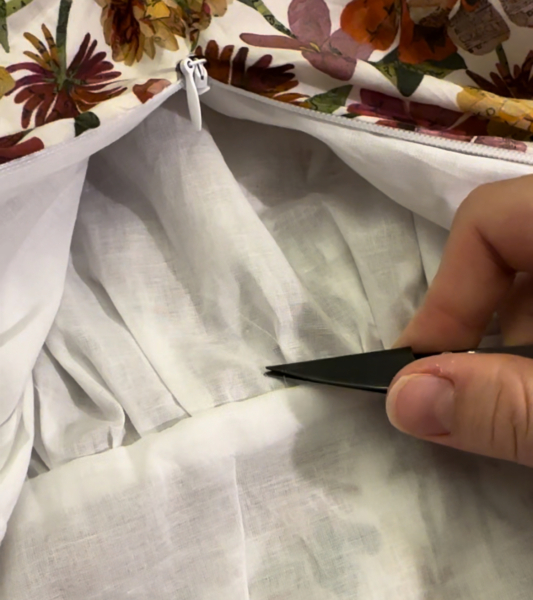
We take pride in the perfect fit and quality, so every finished dress undergoes strict quality control and meticulous fitting. We also check all handmade dresses from top to bottom with precise attention to detail to to ensure only the best for your little girl. No loose strands allowed!
Here we check the hems, sleeves, and other openings to see if they’re properly sewn closed. We look at the finer design details, like laces, bows, and ruffles, to ensure they’re secure. We test the buttons, zippers, and snaps to make sure they all work as intended. The seams on the inside also must have a clean edge, so your little girl can wear it comfortably at all times.
We also take pride in the perfect fit,
If everything works, then we move to the next step.
Step 5: Pressing & Ironing
In this step, we press each seam and hem with an iron to give the handmade dresses a polished finish and sleek look. Other than smoothing out the creases, we’ll be paying attention to pressing instructions provided in the pattern to make sure each dress has crisp seams and smooth edges for your princess.
Step 6: Packing & Shipping
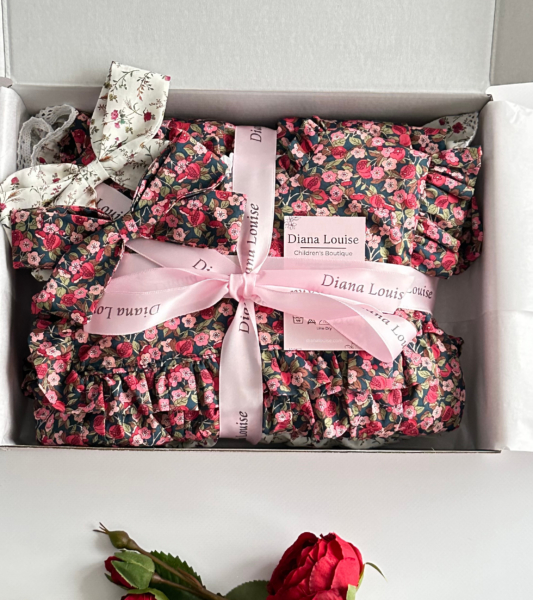
Now that the dresses have been made to perfection, it’s time for them to be wrapped up in a bow to send to your special little one.
We first fold the handmade dresses with love and care before tying them with a bow. Then we put them in our signature pink box along with a thank-you note (it has a special gift for you on it), our card, and fabric samples. After we tape the wrappings, we close the box, and then it’s on its way to you and your little one.
Sew With Us!
Follow us on Instagram and watch your dress being made! Come sew made-to-order dresses with us, pack beautiful orders together, pick prints and fabrics for the new collection, and watch dreams come true.
You’ll also be the first to know when a new limited-edition seasonal collection is out or when there’s an exclusive sale. You might even see your order being made!
A world of so come join us today!
Your Little One’s Dream Handmade Dresses Are Waiting!
Now that you’ve learned about how we make the dresses, we’d love to repeat the process for you and your little one. Pay a visit to our collections and pick your favorite designs and patterns with your princess, and let’s make her a made-to-order dress that nobody else owns.
Leave a reply